There are a couple of notable things you should know about, or better yet, some things to consider with the memories at hand, and it involves mostly a person’s will to specifically categorize their assorted memories.

It’s more of a practical task for us tech peeps, but sometimes there are some things we may or may not have forgotten when it comes to fixing files or revisiting tips on how to arrange one’s memories.
Google’s even picking up with being careful with the memories we are fond of, updating its interface for ease of access, which we will zip to shortly after.
1. Sorting according to proximity and location
Places, locations, and scenarios need proper setting. Good memories are found in both usual and peculiar places, and so, you might want to consider switching the ‘location’ option on your phone whenever you want to make a note.
This is mostly at the trail’s end, meaning that if you remember to have your location option on, you might just be in luck to have Google Photos sort that out for you, or even help by specifically pinpointing where that one funny bit you’ve done is, to be sorted out later on.
Here’s how:
- Open your Google Photos
- Look for your profile, usually located in the upper-right corner of your phone
- A list will appear, and you should be able to see ‘settings’ and click
- Click ‘locations’ to have Google sort the memories you’ve captured. Bear in mind that your location status should be on, which is located in the main settings where your data, WiFi and other features are.
2. Gather your photos and/or clips and convert them into collages, movies, or animations
Another way of putting things in order and in tip-top shape is to summarize all of your assorted memories into hard-hitting nostalgic moments that chill you to your bones.
One way to do it is by going to your utilities and finding the memories you want to mix and match with, making tear-jerking or head-coiling clips that will surely leave a mark on your enigmatic thoughts.
Personally, the ‘movies’ option seems like the go-to option, giving you options to edit the photos and videos you’ve selected into said genre, with Google being thoughtful enough to add music and have said music match the transitions.
Here’s how:
- Go to your ‘library’ tab
- Look for the ‘utilities’ tab, usually located in the upper right corner of your interface
- Scroll downwards until you find the ‘create new’ tab, which includes animation, collage, and movies
- Select photos and or videos you wish to compile for sorting purposes.
3. Auto-update feature in the albums section allows you to have photos categorized into different kinds
Google Photos also features auto-updating albums, mostly for photos that haven’t been synced yet with the filters that are responsible for sorting familiar faces into separate albums.
If you’ve got a number of cluttered memories in your gallery, or had some trouble with your phone’s performance before, then consider turning on your ‘auto-updating album’ feature to sort things out in a neat and orderly fashion.
Here’s how:
- Go to the ‘album’ section
- Tap on ‘Create new album’
- Tap ‘Select people and pets’
- Select the desired subjects to have in your album
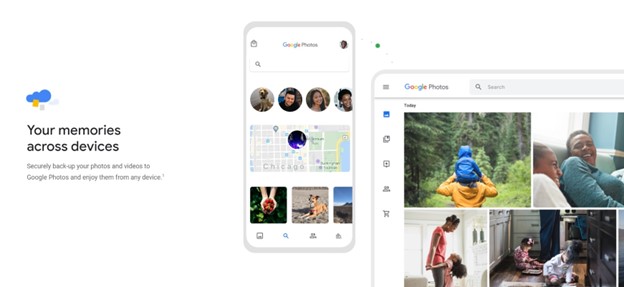
The Google Photos App recently updated to a much tidier interface, updating its filters for screenshots or photos, getting a sleek sliding tab, and more features over screenshots.
Now that you’ve got your know-hows and freed some space, you’d better make more memories down the lane.
Photo Credit: https://www.google.com/photos/about/
Source: https://blog.google/products/photos/get-organized-google-photos-spring-cleaning/


